UNDERSTANDING THE BASICS OF JUMP STARTING A VEHICLE
Jump starting a vehicle is a crucial skill for drivers.
1.1 THE IMPORTANCE OF JUMP STARTING
Understanding the significance of jump starting a vehicle is essential for every driver. This skill enables individuals to revive a non-starting vehicle due to a depleted battery, thereby avoiding potential inconveniences or delays. Furthermore, mastering this technique enhances overall vehicle maintenance and operational knowledge.
1.2 COMMON CAUSES OF A DEAD BATTERY
A variety of factors can lead to a dead battery in a vehicle. Common causes include leaving lights or accessories on for extended periods, extreme weather conditions affecting battery performance, corrosion on battery terminals, and age-related decline in battery capacity. Awareness of these issues aids preventive measures.
PREPARING FOR THE JUMP START
Preparation is essential for an effective jump start.
2.1 GATHERING NECESSARY EQUIPMENT
To successfully jump start a vehicle, it is imperative to gather essential equipment prior to commencing the procedure. The primary items required include a set of jumper cables, a functional vehicle with a charged battery, and, optionally, safety gloves and goggles for personal protection. Ensuring availability of these items is crucial.
2.2 ENSURING SAFETY PRECAUTIONS
Prioritizing safety is paramount when jump starting a vehicle. Ensure both vehicles are turned off before connecting cables, and avoid contact between the jumper cable clamps. Additionally, utilize insulated gloves and goggles to protect against electrical hazards. Always follow manufacturer guidelines to mitigate risks effectively.
STEP-BY-STEP INSTRUCTIONS FOR JUMP STARTING
Follow these steps meticulously for proper jump starting.
3.1 POSITIONING THE VEHICLES
Proper positioning of the vehicles is crucial for an effective jump start. Align the functional vehicle with the dead vehicle, ensuring both are in park or neutral with engines off. The vehicles should be close enough for the jumper cables to reach both batteries without straining. Activate hazard lights for additional safety measures.
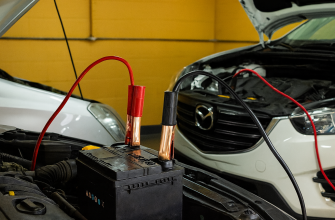
3.2 CONNECTING THE JUMPER CABLES CORRECTLY
To connect the jumper cables correctly, begin with the positive terminal of the dead battery, attaching the red clamp. Next, secure the other red clamp to the positive terminal of the functioning battery. Follow by connecting the black clamp to the negative terminal of the functional battery, then attach the final black clamp to an unpainted metal surface on the dead vehicle.
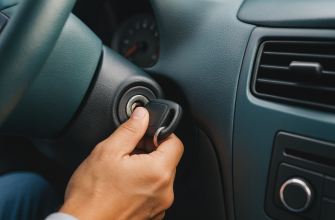
3.3 STARTING THE VEHICLES
After ensuring all connections are secure, proceed to start the functioning vehicle. Allow it to run for several minutes to charge the dead battery. Subsequently, attempt to start the non-functioning vehicle. If the engine does not start, wait a few moments and try again. Once operational, carefully remove the cables in reverse order.
AFTER THE JUMP START: WHAT TO DO NEXT
Follow these steps to ensure optimal performance.
4.1 ALLOWING THE ENGINE TO RUN
Once the engine of the previously non-functioning vehicle starts, allow it to run for at least 15 to 30 minutes. This duration enables the alternator to charge the battery sufficiently, restoring power to the electrical systems. It is advisable to drive the vehicle during this period to enhance battery recharging efficiency and prevent future issues.
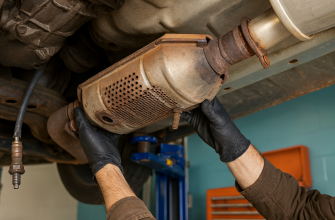
4.2 TESTING THE BATTERY AND ELECTRICAL SYSTEM
After the jump start process, it is imperative to test the battery and electrical system to ensure optimal functionality. Utilize a multimeter to check the battery voltage, ensuring it falls within the acceptable range. Additionally, inspect the vehicle’s electrical components and accessories for any irregularities, addressing issues promptly to prevent future failures.
PREVENTIVE MEASURES TO AVOID FUTURE BATTERY ISSUES
Implement these strategies to enhance battery longevity.
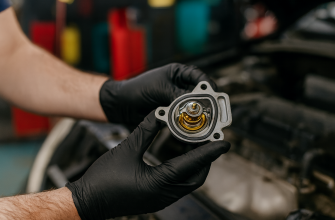
5.1 REGULAR BATTERY MAINTENANCE
To ensure optimal battery performance, regular maintenance is essential. Periodically inspect battery terminals for corrosion and clean them as necessary using a mixture of baking soda and water. Additionally, check the battery’s electrolyte levels, top off with distilled water if low, and ensure secure connections to prevent power loss over time.
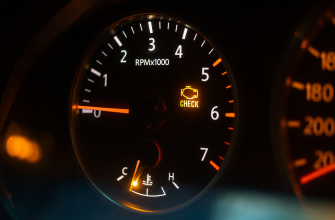
5.2 RECOGNIZING SIGNS OF BATTERY FAILURE
Identifying signs of battery failure is crucial for prevention. Common indicators include slow engine cranking, dimming headlights, and electrical accessory malfunctions. Additionally, a swollen or leaking battery case may signal imminent failure. Regularly monitoring these symptoms can facilitate timely interventions, ensuring reliable vehicle operation.